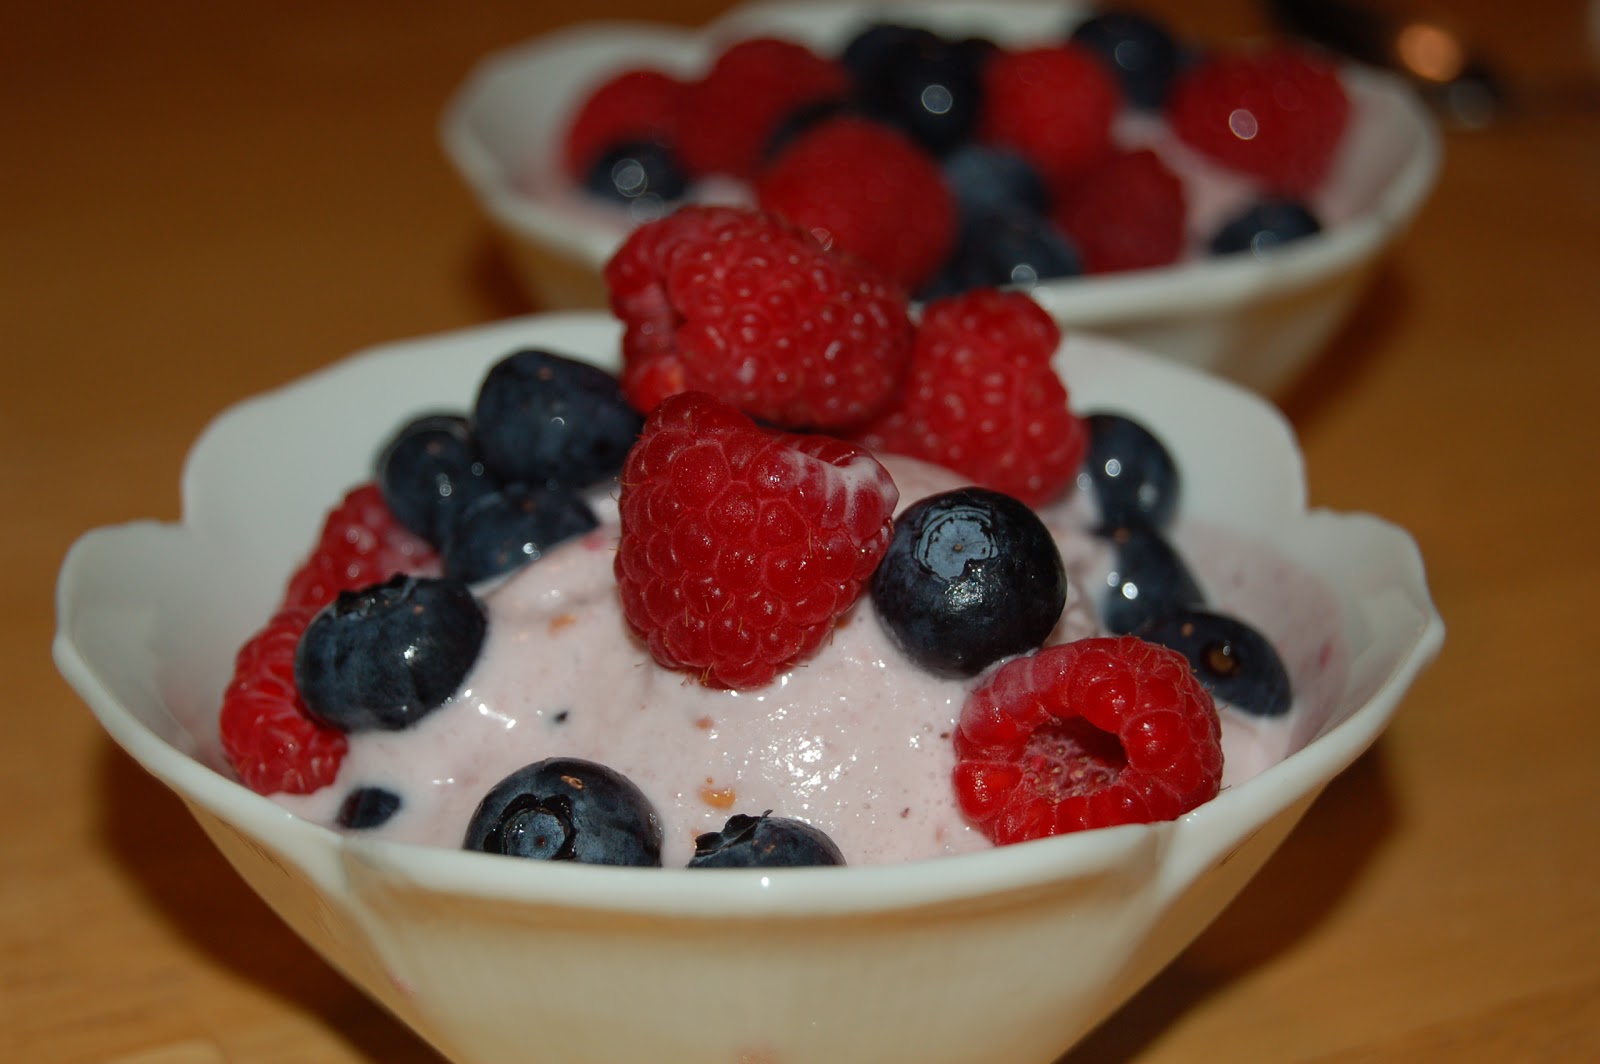
My stepson, Riley, has been asking if we could try this recipe for a long time. I'm glad that we finally made it. It's really more of a custard with an amazingly rich flavor. The custard base is basic, so you could probably make it with any flavoring you'd like (in case you're a little leery of making salt-rich ice cream).
Ingredients:
2 eggs
1 C milk
1 C + 1 tsp sugar
1 C heavy cream
1-1/2 tsp of vanilla extract
sea-salt to taste
blue and green food coloring (optional)

Crack 2 eggs into the bowl and whisk well for a few minutes.


Add one cup of sugar into the eggs and continue to whisk well until creamy.


Heat the milk in the saucepan over medium heat until warmish hot while constantly stirring with the wooden spoon (do not use a metal spoon it will scratch your pot and make the milk burn easier). The milk should be right before boiling, but do not let it boil. Do not heat too fast or the milk will curdle. Whole milk works best and makes the creamiest and most delicious ice cream, however any milk will do in a pinch (we used 2%).

Add the egg and sugar mixture into the warm milk and heat over medium to low heat until thickened. This will take a while and the mixture may boil a bit. If it does reduce your heat to low (to prevent further boiling) and keep stirring until it has the consistency of very thin pudding. If you want a slightly richer ice cream, add the extra teaspoon of sugar to this step.

Remove the saucepan from the heat and stick it in the fridge to cool.

Once your mixture has cooled to room temperature or below, take it out of the fridge and add the heavy cream and vanilla.


Add sea-salt slowly and taste until you have a slightly salty but sweet flavor to your liking. I like my sea-salt ice cream very salty and put a little under a teaspoon of salt in. Some people like less, some people like more.

Add the food coloring. To get the traditional kingdom hearts color, 10 drops of blue and 2 drops of green.

Pour mixture into your ice cream freezer and follow the instructs for your freezer.


You may need to let it run for 1-2 hours. You will have to wait longer than normal for sea salt ice-cream to freeze because the salt lowers the freezing temperature.

If you want harder ice cream, put in a freezer-safe container and freeze hard for several hours.
Printable version